
Just unboxed a new LiftMaster? Haven’t programmed it yet?
Need to reset it or change its access code?
You’re in the right place.
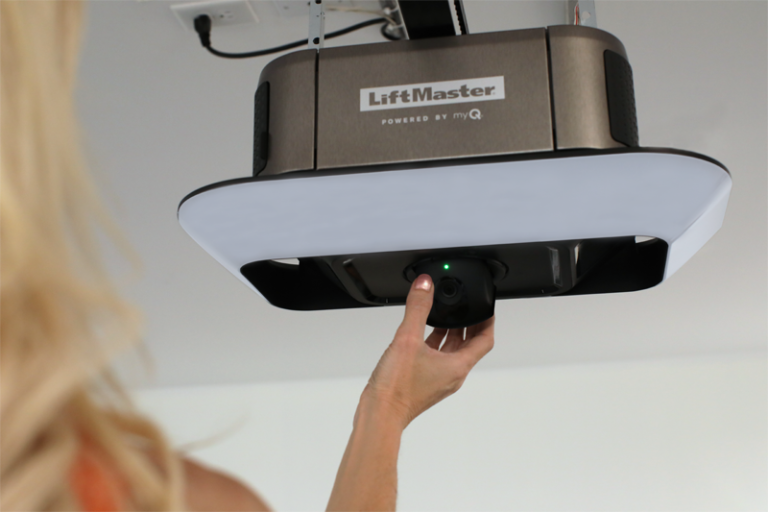
LiftMaster is known for reliability, smart features, and user-friendly controls. From MyQ smartphone connectivity to Vacation Lock, rolling code technology, and secure keyless entry, LiftMaster makes garage door management simple.
This guide walks you through how to program, reset, and change the code on your LiftMaster Garage Door Opener — step by step.
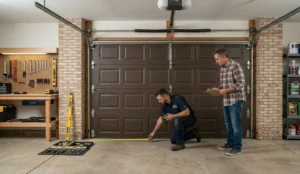
The control panel is located near the garage door motor (ceiling or side wall). You may need a ladder.
On the motor unit, locate the “Learn” or “Program” button — often on the back or side. Press and hold it for ~5 seconds until the LED flashes.
Your opener is now in programming mode.
Press and hold the button on the remote you want to sync. When the opener light stops flashing, the connection is complete.
Press Open/Close on the remote. The door should respond.
Repeat steps for each remote.
Press the Learn button once more. The flashing light will stop.
For additional support, you can also reference our quick guide:
How to Program a Garage Door Opener
Connecting your car’s HomeLink system to your garage door opener will make it more convenient to open and close your garage door. Follow these steps to program your LiftMaster overhead door opener to your car.
Check the owner’s manual for button location and how to reset existing codes.
Find the Learn button on your LiftMaster unit — typically yellow, purple, or reddish-orange.
Press and release (do not hold) the Learn button.
Within 5 seconds, press and hold your car’s HomeLink button until the garage door activates.
If the door responds, you are successfully synced.
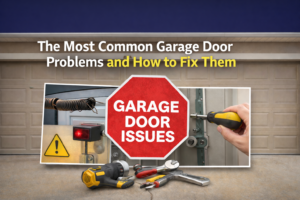
Is your LiftMaster garage door opener opening on its own or not opening at all? Has someone you don’t trust gained access to its code? Resetting the unit is generally the fastest and easiest way to address malfunctions, resolve glitches, and make sure your system is secure again.
If your opener is behaving unpredictably — opening on its own, not responding, or failing after a power outage a reset can help.
Unplug the unit or turn off the circuit breaker.
Look on the back or bottom of the motor for the Reset symbol (circular arrow).
Hold for ~10 seconds. Recessed buttons may require a tool.
Plug the unit back in or turn the breaker on.
Try operating the door via the wall button or remote.
If your opener is still unresponsive, the issue may involve sensors.
How to Align Garage Door Sensors
With a garage door code, you can open and close your garage door without its remote. Unfortunately, it can sometimes fall into the wrong hands. By knowing how to change the code on your LiftMaster opener, you can make sure that only those you’ve authorized have access and keep your home secure.
We recommend choosing a code that’s easy for you and your family to remember but difficult for strangers to figure out. Avoid using your street address, ZIP code, or phone number.
At least twice a year, change your garage door code. You should also change it whenever you move into a new home or if previous tenants move out. If you’ve forgotten your code or think that someone unauthorized might have gotten access to it, it’s time to update it.
Changing your garage door code is a simple process, and you can do it by following these steps.
Enter your current four-digit code on the keypad to begin. This process will only work with the correct code.
Press and hold the “#” button on the keypad after entering your code and keep holding it until the lights on your opener flash twice. You can now enter a new code.
Don’t forget to choose a four-digit code that is easy to remember, but difficult for others to guess.
Press “Enter” after entering your new PIN. The opener’s lights flash again to confirm the code change was successful.
Test the updated PIN by entering it on the keypad and pressing “Enter.” If the door opens or closes, the change is successful. Repeat the process if the door doesn’t respond.
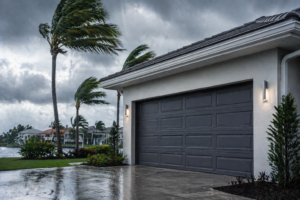
At Allied Doors, we’re dedicated to keeping your garage door working safely — from installation and smart tech upgrades to spring repair and storm readiness.
Family-owned and proudly serving South Florida from the Keys to Vero Beach, we’re not just a company — we’re your family in the garage door business.
Contact us today to see how we can meet your garage door needs!